

To make white ink read bright on a dark shirt, you need an opaque white layer underneath everything else. For screen printing, that means a high-opacity plastisol underbase. For DTG, it means pre-treatment plus a white base layer. For small runs, DTF or white heat transfer vinyl skip the underbase step entirely. Get the mesh, flash, and cure wrong, and even the best ink turns gray.
TL;DR:
- Using a high-opacity white base layer is essential for bright printing on dark garments, regardless of whether you use screen printing or direct-to-garment methods.
- Proper mesh selection, with 86 to 110 mesh for underbases and finer meshes for top coats, significantly improves ink deposit and opacity.
- Testing for dye bleed and proper cure temperature is crucial, especially when working with polyester fabrics or blends prone to dye migration.
- DTF transfers and heat transfer vinyl offer quick alternatives for small runs, while plastisol remains more cost-effective for large orders exceeding fifty shirts.
- Consistent use of test swatches, curing checks, and proper trapping techniques help prevent issues like gray whites, banding, and cracking in the final print.
Table of Contents
- Choosing the Right Ink System for White on Dark Shirts
- Building an Opaque White Underbase That Actually Works
- Supplies, Screens, and Mesh Selection
- Curing, Flash-Drying, and Dye Migration
- The Print Workflow, Step by Step
- Fixing Gray, Fuzzy, or Uneven White Prints
- What a Production Shop Actually Checks Before Printing
- When to DIY vs Hire a Pro
- Order Custom Dark Shirts Without the Guesswork
- A Few More Places to Look
- Sources
Choosing the Right Ink System for White on Dark Shirts
The method you pick depends on your order size, your fabric, and how crisp you need the final print to look. There is no single best ink for dark shirts, only the best ink for your specific job.
- Plastisol delivers the highest opacity of any screen-printing ink and stays the workhorse for bulk orders. It sits on top of the fabric rather than soaking in, which is exactly why it covers black and navy so well.
- Water-based ink gives you a softer hand feel, closer to the shirt itself than to a rubbery decal, but you need a high-solids formula and tighter process control to match plastisol’s coverage. Water-based whites can approach plastisol opacity when built correctly as an underbase, though drying ink in the mesh and higher cure temperatures add production overhead.
- DTG (direct-to-garment) is the go-to for photo-realistic designs on 100% cotton, but dark shirts absolutely require pre-treatment and a printed white underbase before the color layer goes down. DTG printing on dark fabric simply will not show pigment without that base.
- DTF (direct-to-film) transfers work across cotton, polyester, and blends without much fuss, since the white ink and adhesive are already built into the film before it ever touches the shirt. That structure removes most dye-migration worries that plague screen printers working on synthetic fabric.
- HTV (heat transfer vinyl) is the fastest route for a single shirt or a handful of one-off designs. No screens, no curing oven, no ink mixing. Just a design, a cutter, and a heat press.
If you are printing ten shirts for a family reunion, DTF or a small screen run makes sense. If you are running five hundred for an event, plastisol on a manual or automatic press wins on cost per unit every time.
Building an Opaque White Underbase That Actually Works
An underbase is a solid layer of white ink printed first, directly onto the dark garment, before any color goes on top. It is the single most critical variable in the entire process, because it stops the dark fabric dye from absorbing light and dulling every color printed over it. Skip it, and your bright red logo turns a muddy brick color within seconds of hitting a black shirt.
Here is the sequence that works in production:
- Print the underbase using a coarser mesh, typically in the 86 to 110 range, which deposits enough ink to build real opacity rather than a thin, see-through film.
- Flash to gel, not full cure. You are heating the ink just enough to set the surface so the next screen doesn’t stick or smear it. A flash dryer or heat gun gets you there in a few seconds.
- Print the topcoat colors on finer mesh screens, now that the white base gives them something solid to sit on.
- Cure fully once every layer is down, checking with an IR thermometer rather than guessing by feel.
Getting the mesh strategy right matters more than most people expect. Opacity is driven by ink deposit, not by how many thin passes you run. Two firm strokes on the correct mesh beats five weak ones on the wrong mesh every time.
Your artwork needs one more adjustment before you burn screens: trapping. This means slightly expanding the underbase shape beyond the topcoat colors so you never get a thin sliver of exposed black fabric peeking out around the edges of your design. A halo of dark shirt showing through a white letter ruins an otherwise clean print.
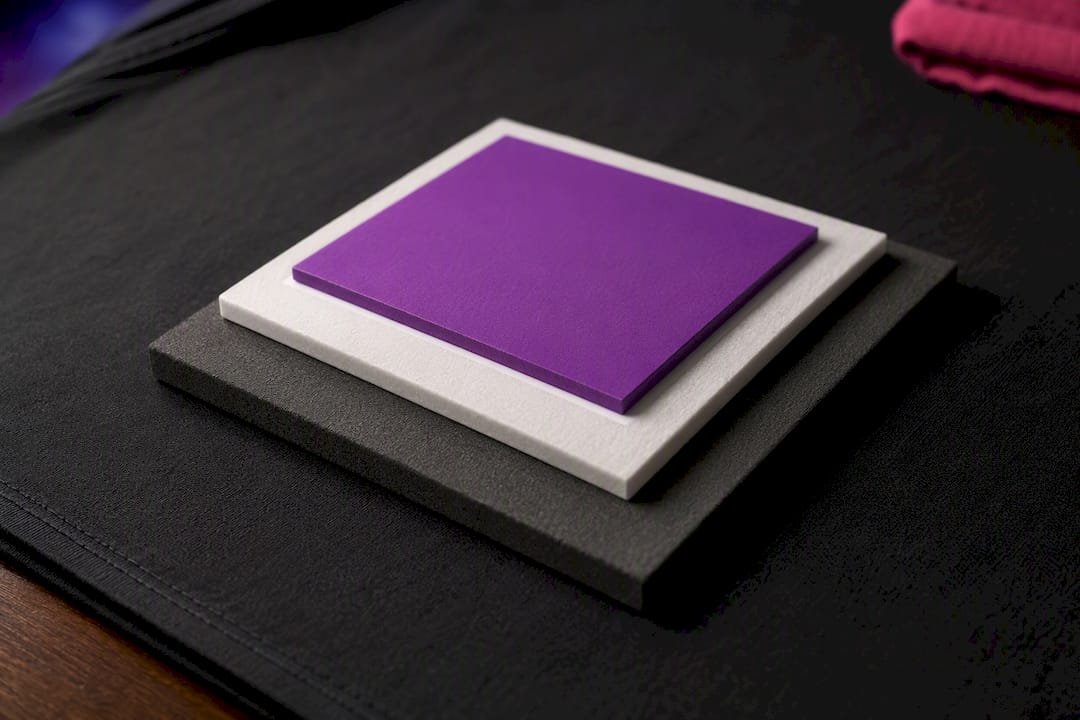
Pro Tip: Run your underbase separation about 0.5 to 1 pixel larger than your color layer on every edge. That small trap hides minor registration drift and keeps edges looking clean even if your press isn’t perfectly dialed in.
Supplies, Screens, and Mesh Selection
Before you print a single shirt, get your supply list right. The gap between a hobby setup and a shop-grade result usually comes down to equipment, not skill.
- A high-opacity white plastisol rated for dark garments, plus a low-bleed formulation if you’re printing on polyester or poly blends.
- A smoothing screen and a curable reducer, used after the underbase flash to knock down raised fabric fibers before the topcoat goes on.
- A flash dryer or heat gun for gel stages, and a full conveyor or heat press for final cure.
- An IR thermometer to verify actual ink temperature rather than trusting a dial setting.
- Squeegees in the 60 to 70 durometer range for underbase work, since a slightly softer blade helps push more ink through a coarse mesh.
On mesh counts, stick to the 86 to 110 range for underbase work. Anything above roughly 156 mesh starts to choke off ink flow and leaves you with a thin, translucent white that no amount of curing will fix. Save the finer mesh, often 156 to 200, for detail and topcoat layers where you want crisp lines rather than heavy coverage.
Before running production, warm your platens and confirm your adhesive spray is tacky and even. Print one test swatch on a scrap of the actual garment fabric and eyeball it under the same lighting you’ll use to inspect the finished order. If you’re sourcing starter gear, basic screen printing supplies from suppliers like Speedball work fine for learning the process, but production shops typically need higher ink-deposit control than hobbyist kits allow.
Curing, Flash-Drying, and Dye Migration
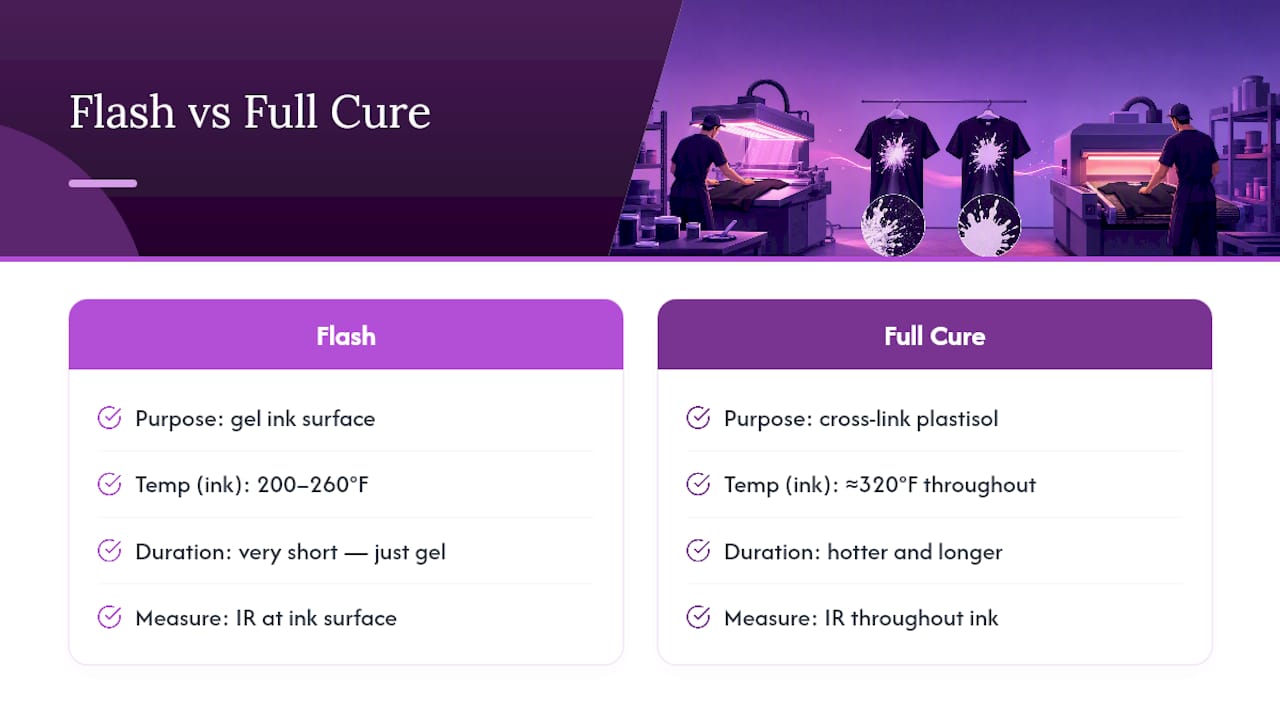
Flash and cure are two different jobs, and mixing them up is one of the fastest ways to ruin a print. A flash cycle only needs to gel the surface of the ink, usually somewhere in the 200 to 260 degree Fahrenheit range measured at the ink itself, just long enough that the next screen won’t smear it. Full cure runs hotter and longer, typically requiring the ink to reach 320 degrees Fahrenheit throughout for plastisol to cross-link properly. An IR thermometer aimed at the ink, not the dryer’s display, is the only reliable way to confirm you hit that number.
Dye migration is the other risk, especially on polyester and poly-cotton blends. Heat during curing can pull dye out of the fabric and up into your white ink, turning a crisp white logo pink or gray over a red shirt within a day or two. Low-bleed white formulations are built specifically to resist this, and reducing tunnel or press temperature slightly can help too, though it’s a tradeoff against full cure. For heavily saturated synthetics, DTF sidesteps the problem entirely since the ink never touches the fiber during the migration-prone heat stage.
Never guess on a full production run. Print a handful of test shirts, cure them at your planned settings, then wash and inspect them 24 to 48 hours later. If the white still looks white and nothing has bled through, you have a safe setting. If it hasn’t, adjust temperature or switch ink before committing to the whole order.
The Print Workflow, Step by Step
Once your screens are burned and ink is mixed, the actual print sequence is short:
- Set up separations with the underbase trapped slightly larger than the topcoat, loaded on the correct mesh for each layer.
- Print the underbase, using one or two firm, even passes rather than several light ones.
- Flash to gel, checking with your IR thermometer instead of a timer alone.
- Run the smoothing screen if fibers are showing through, using a curable reducer to press them flat.
- Print the topcoat on finer mesh for your color layers.
- Cure fully, confirming the ink temperature reaches the full-cure range before the shirt leaves the dryer.
For a single shirt or a small batch under a dozen units, this whole sequence may not be worth the screen-burning time. That’s where DTF or DTG earns its keep, or where white HTV gets a design onto a shirt in minutes with no ink mixing at all.
Fixing Gray, Fuzzy, or Uneven White Prints
A washed-out or gray-looking white almost always traces back to one of four causes. Work through them in order:
- Opacity test: hold the shirt up to a bright light. If you can see the dark fabric shadow through the white, your ink deposit was too thin or your mesh was too fine for underbase work.
- Cure check: an undercured print looks fine fresh off the press but grays out after a wash or two as dye migrates through the ink. Recheck your temperature with an IR thermometer.
- Mesh review: confirm you used a coarse mesh, in the 86 to 110 range, for the underbase pass rather than a detail mesh meant for topcoat work.
- Substrate dye test: some fabric dyes migrate more aggressively than others. Print a swatch and cure it, then wait 48 hours to see if bleed shows up before running the full order.
Fuzz or visible fabric fibers poking through the print usually means the garment’s nap wasn’t knocked down before the topcoat. A smoothing screen with a curable reducer after the underbase gel stage flattens those fibers so the final print looks crisp instead of fuzzy.
Banding, pinholes, and cracking usually point to squeegee angle, screen tension, or over-deposited ink that wasn’t cured to match its thickness. Heavy underbase deposit without an adjusted cure profile is a common cause of cracking after a few washes.
Pro Tip: Keep a small logbook of mesh count, ink deposit, and cure temperature for every job that gives you a clean white. When a new order comes in on the same fabric, you’re referencing your own proven numbers instead of starting from scratch.
What a Production Shop Actually Checks Before Printing
This section reflects a practical process developed for working through white-on-dark jobs, highlighting how getting bright, durable whites on cotton tees is a frequent task rather than an occasional experiment.
On most jobs, shops may use a high-opacity plastisol underbase for cotton runs and DTF for mixed-fabric or small-quantity orders, since DTF sidesteps a lot of the dye-migration guesswork that trips up newer printers. Every white-on-dark job that involves a fabric the shop hasn’t run before gets a small test swatch first: print it, cure it, and inspect it under bright light before committing ink to the full order.
If you’re working with any print shop on a white-on-dark job, ask for three things before production starts: a printed swatch on the actual garment color, a short wash test if the fabric is synthetic, and written confirmation of which ink formulation they’re using. A shop that hesitates to run this checklist is one to be cautious about.
When to DIY vs Hire a Pro
The math is simple past a certain point. If you’re printing under a dozen shirts, DTF, DTG, or HTV usually beats setting up screens and mixing ink for the time you’ll spend. Past fifty or so units, especially with multiple colors, screen printing starts paying for itself.
Substrate risk changes the calculation too. Printing white on polyester jerseys or poly blends, where dye migration is a real threat, argues for hiring a shop with proven low-bleed formulations rather than learning that lesson on a full order. Whoever prints it, ask for a swatch, a cure test, and confirmation of the ink formulation before the run starts.
— Jon Will
Order Custom Dark Shirts Without the Guesswork
A custom print shop can take the underbase, mesh, and cure decisions off your plate entirely. Instead of buying screens, ink, and a flash dryer to print a handful of shirts, you send your design and pick your garment color, and the shop handles the DTF, DTG, or screen setup needed to make white read bright on black, navy, or any dark fabric you choose.
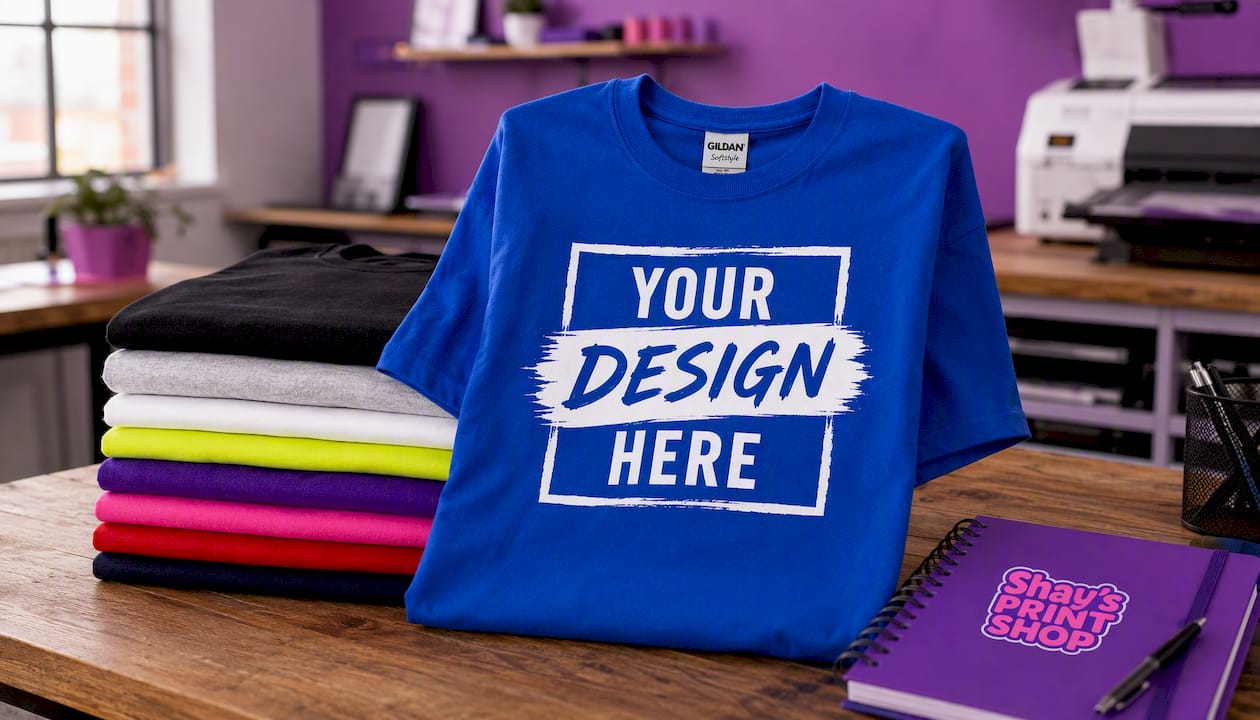
The 10 for $99 custom t-shirt package covers 100% cotton shirts for family reunions, small business branding, or team orders, with bulk pricing that beats buying your own supplies for a one-time run. If you’re working with a synthetic blend or a design with fine detail, ask about a pre-production test swatch before committing to the full order, the same check any careful shop should run on your fabric and design before the ink ever hits a shirt. Upload your design and pick your dark garment color to get started on your order today.
A Few More Places to Look
For deeper technical reading, Printable Press’s underbase guide covers mesh and deposit specifics, and Kornit’s DTG comparison explains pre-treatment requirements in more depth. Bearhugs Ink is a solid resource for materials and screen questions beyond the basics covered here. On the Shay’s Print Shop blog, the DTG vs DTF comparison and file format guide both go further into prepping artwork for dark garment printing.
0 comments