

Choose a front print for immediate visibility and clean branding. Choose a back print for large, detailed artwork or event impact. For premium merch, use both.
Here are the fastest decision rules:
- Visibility first: Front prints face the world the moment someone walks in the room. Back prints reward a second look and work best when the design needs room to breathe.
- Design size: Small logos and wordmarks belong on the front (left chest or center chest). Artwork wider than 8 inches almost always reads better on the back.
- Audience and setting: Retail and corporate shirts lean front. Band merch, event staff shirts, and reunion tees often go full back or front-and-back.
- Budget: A single-location print costs less. Front-and-back printing adds a setup fee and increases per-unit cost, so confirm the design earns that investment.
If you’re creating daily-wear merch to sell, start with a center-front or left-chest logo. If you want tour-style or event impact, put the art on the full back and add a small front hit for balance.
Key Takeaways
Choosing between a front and back print comes down to three things: what the design needs to say, how much space it requires, and what the shirt is for.
| Point | Details |
|---|---|
| Front print best for | Logos, wordmarks, and retail shirts where first-impression visibility matters most. |
| Back print best for | Large artwork, event details, and statement designs that need 12 × 16 inches of space. |
| File resolution requirement | Build every print file at 300 DPI at the actual print size before exporting. |
| Double-sided printing tip | Name front and back files separately and approve a digital proof for both placements before production. |
| Shaysprintshop | Offers DTF printing on 100% cotton shirts with bulk pricing from $99 for 10 shirts, front or back. |
Table of Contents
- What are the standard front vs back print placement zones?
- Standard measurements and template specs for front and back prints
- Pros and cons of front vs back prints for real-world use cases
- Design composition rules that change the placement decision
- Which print methods work best for front vs back placements?
- How to prepare artwork files for front and back prints
- Production tips, common pitfalls, and cost drivers
- How a fulfillment shop handles front and back orders from estimate to delivery
- Handling the real challenges of double-sided printing
- What most people get wrong about front and back placement
- Shaysprintshop makes front and back printing simple for small businesses
- Sources
What are the standard front vs back print placement zones?
Every placement zone on a shirt has a job. Knowing which zone does which job keeps your design from looking like an afterthought.
Center chest
The center chest sits in the middle of the front panel, roughly 2–3 inches below the neckline. It is the most-read spot on any shirt. Brands, event names, and bold graphics all work here because the eye goes there first.
Left chest
The left chest is the subtle option. A logo or small icon printed here reads like a uniform or a professional polo. It signals brand affiliation without shouting. Placement guidelines put the top of the artwork about 7–9 inches down from the shoulder seam, with the design itself running 3–4 inches wide.
Full front
Full front covers most of the shirt’s front panel, typically 10–12 inches wide and up to 14 inches tall. Streetwear drops and statement tees live here. The design has to be strong enough to carry that much real estate.
Back collar / upper back (yoke)
This is a small branding zone, usually 2–3 inches wide, sitting 1–2 inches below the back collar seam. You see it on athletic wear and premium streetwear as a secondary brand mark. It pairs naturally with a center-front graphic.
Upper back
Upper back placement centers the design between the shoulder blades, higher on the garment. It reads well from a distance and works for event names, team identifiers, or secondary messaging on staff shirts.
Full back
The full back is the largest printable area on the shirt, matching the full-front dimensions at up to 12 × 16 inches. This is where detailed illustrations, tour dates, large typography, and dramatic graphics live. The trade-off is that people only see it when you walk away.
Common pairings
Left chest plus full back is the most popular combination for retail-ready shirts. A small back-collar mark paired with a center-front graphic works well for athletic and premium lifestyle brands. Both pairings give the shirt a front-and-back story without the design feeling scattered.
Standard measurements and template specs for front and back prints
Getting the dimensions right before you send a file saves you from reprints, delays, and the frustration of a design that prints off-center.
The table below covers the standard print areas, placement distances, and pixel dimensions at 300 DPI for the most common zones.
Key spec: The standard full-front and full-back print area for adult shirts is 12 × 16 inches. At 300 DPI, that equals 3,600 × 4,800 pixels — the number to give your designer or confirm in your export settings before uploading a file.
Placement size charts confirm that a standard front center chest runs 11–12 inches wide for adults, while a left-chest logo stays in the 3.5–4 inch range. The full back uses the same 12 × 16 inch area as the full front, which means a design that fits one placement can often reuse the same file for the other, saving production time.
For placement distances, Printify’s size guide puts the left chest between 2.5–5 inches wide and the full front between 10–12 inches wide by 10–14 inches tall, with the full center back running 10–14 inches wide by 6–15 inches tall. These ranges account for shirt size scaling from S through 3XL.
Pro Tip: When scaling a design across shirt sizes, avoid locking the artwork to a fixed pixel position. Instead, use percentage-based placement from the collar and side seams so the design stays proportional on a youth small and an adult 3XL.
Pros and cons of front vs back prints for real-world use cases
The right placement depends on what the shirt needs to do, not just what looks good on a flat mockup.
Front print advantages and limitations
Pros:
- Immediate visibility — people see it the moment they face you
- Retail-friendly; shoppers judge a shirt from the front on a rack or a product page
- Small logos and wordmarks read cleanly without needing a large print area
- Lower cost when ordering a single-location print
Cons:
- Limited space for complex, detailed artwork
- Designs can feel crowded if the art is too large for the chest area
- Less dramatic visual impact compared to a full-back statement piece
Back print advantages and limitations
Pros:
- Largest printable area on the shirt, up to 12 × 16 inches
- Ideal for detailed illustrations, tour dates, event rosters, and large typography
- Creates strong impact at events where people are moving around and turning away
- Pairs well with a small front hit for a premium, layered look
Cons:
- Not seen until someone turns around, so it misses first-impression moments
- Requires higher-resolution artwork to fill the space without pixelation
- Adds cost when combined with a front print
Use cases by shirt type
- Corporate polos and staff uniforms: Left-chest logo, front only. Clean, professional, and cost-effective for large orders.
- Band and tour shirts: Full back with dates and artwork, small front logo. This is the format audiences expect.
- Event and reunion shirts: Center front with event name and year, full back with names or a group graphic. Both placements earn their place here.
- Streetwear drops: Full front or full back depending on the artwork. Rarely both, unless the brand story requires it.
- Nonprofit and fundraiser shirts: Center front for the cause name, back for sponsor logos or donor recognition.
If your art has detailed linework or layered typography, the back gives it room to work. If you want subtle, everyday branding, the left chest is the right call.
Design composition rules that change the placement decision
A design that looks sharp on your screen can fall apart on a shirt if you ignore how fabric moves, how seams interrupt lines, and how far away people actually stand when they read your print.
Contrast and viewing distance
Front prints get read up close. Back prints get read from 6–10 feet away. That distance changes everything about legibility. A thin serif font at 1 inch tall reads fine on a screen and disappears on a back print. For full-back designs, keep body text at least 0.5 inches tall and use high-contrast color combinations. White on black, black on white, and bold single-color graphics hold up at distance. Gradient-heavy designs lose definition on dark fabrics, especially with DTG.
Seams, collar shape, and drape
The collar seam is the natural anchor point for placement. Designs that start too close to the collar get distorted when the shirt is worn because the fabric pulls toward the neckline. The 2–3 inch buffer below the collar on the front, and the 1–2 inch buffer on the upper back, exist for exactly this reason. Side seams matter too — artwork that extends past the side seams on a full-front print will wrap around the body and look unintentional.
Fabric drape affects back prints more than front prints. A loose-fitting shirt creates folds across the lower back, which can break up a design placed too low. Keep full-back artwork in the upper two-thirds of the back panel for the cleanest read.
Typography and safe zones
For any text-heavy design, leave at least 0.5 inches of clear space between the edge of the artwork and the edge of the print area. This is your safe zone. Text that runs to the edge of the print area risks getting clipped or distorted at the seam. For back prints with multiple lines of text, limit line length to 10–12 inches and use a font size that reads at arm’s length.
Pro Tip: Before approving a final file, place your artwork on a 3D mockup tool like Printful’s mockup generator or Placeit, then view it at thumbnail size. If the design reads clearly at 200 pixels wide, it will read clearly on a shirt from across a room.
Which print methods work best for front vs back placements?
The method you choose affects color fidelity, durability, cost, and how well the print holds up on a large back panel versus a small chest logo.
| Method | Best Placement | Detail & Color | Durability | Cost (Small Run) | Cost (Bulk) |
|---|---|---|---|---|---|
| DTF (Direct-to-Film) | Front or back, any size | High detail, full color | Very good | Low setup, affordable | Scales well |
| DTG (Direct-to-Garment) | Full front or full back | High detail, full color | Good on 100% cotton | Higher per unit | Moderate |
| Screen print | Center chest, full back | Bold, limited colors | Excellent | High setup fee | Low per unit |
| Sublimation | Full front, all-over | Vivid, seamless | Excellent on polyester | Moderate | Moderate |
| Vinyl / HTV | Left chest, small logos | Clean edges, limited color | Good | Low | Moderate |
DTF printing handles both small chest logos and large full-back artwork without a setup fee, which makes it the most flexible method for small runs and mixed orders. For more on how DTF compares to DTG for different placements, the DTG vs DTF breakdown covers the key differences in detail.
Screen printing delivers the sharpest color on high-volume runs, but the per-color setup fee makes it expensive for designs under 24 pieces. Sublimation produces vivid, edge-to-edge prints on polyester but does not work on 100% cotton. Vinyl excels at left-chest logos and small graphics but is not practical for full-back artwork with fine detail.
For bulk t-shirt orders across events and teams, DTF on 100% cotton gives you full-color flexibility without the screen print minimums.
How to prepare artwork files for front and back prints
Bad files are the single most common reason orders get delayed. Here is what to send and how to build it.
Recommended file types by method
- DTG and DTF: PNG with a transparent background, flattened, RGB color mode
- Screen print: Vector file (AI or EPS), with all text converted to outlines, spot colors labeled in Pantone
- Vinyl / HTV: Vector file (SVG or AI), single-color or separated layers
- Sublimation: High-resolution TIFF or PNG, RGB, no transparency needed
Pixel dimensions for standard print areas
A 12 × 16 inch print area at 300 DPI equals 3,600 × 4,800 pixels. Build your file at that size from the start. Scaling up a small file to hit those dimensions after the fact creates pixelation that no print method can fix. For a left-chest logo at 3.5 inches wide and 300 DPI, your file should be at least 1,050 pixels wide.
Export checklist
- Color mode set to RGB for DTG/DTF; CMYK or Pantone for screen print
- All text converted to outlines or embedded fonts
- Background transparent (PNG) for DTG/DTF
- Artwork flattened before export
- File resolution confirmed at 300 DPI at the actual print size
- Mockup reviewed at actual shirt dimensions, not just on screen
Pro Tip: When ordering front and back prints in the same job, name your files clearly: “ShirtName_FRONT_300dpi.png” and “ShirtName_BACK_300dpi.png.” It takes 10 seconds and prevents the shop from printing your back art on the front panel.
You can prepare raster artwork in GIMP, which exports PNG files at custom DPI settings at no cost. For vector work, Adobe Illustrator or Inkscape handle the outline and export steps.
Production tips, common pitfalls, and cost drivers
What drives the price
- Print area size: A full-back print costs more than a left-chest logo. More ink, more time.
- Number of colors: Screen printing charges per color. A 4-color design costs more to set up than a 2-color design.
- Print method: DTF has low setup costs. Screen printing has high setup but low per-unit cost at volume.
- Double-sided printing: Front-and-back orders require two separate print passes, which adds time and cost per unit.
- Garment type: 100% cotton takes DTF and DTG ink differently than blends. Premium blanks cost more.
For a detailed look at custom t-shirt pricing by order size, the cost breakdown covers small runs through bulk orders.
Typical turnaround windows
Small runs of 10–24 shirts with a single print location typically turn around in 3–5 business days once the proof is approved. Double-sided orders add 1–2 days. Large bulk orders of 100 or more pieces may need 7–10 business days depending on the method and garment availability.
Common pitfalls and quick fixes
- Art placed too high: Designs that start less than 2 inches below the collar get cut off or distorted at the neckline. Always confirm placement distance in the proof.
- Low-resolution files: A 72 DPI file scaled to 12 × 16 inches will print blurry. Build at 300 DPI from the start.
- Color mismatches: Screen colors and printed colors differ. Request a Pantone match or a physical sample for brand-critical colors.
- Inconsistent scaling across sizes: A 12-inch-wide design on a small shirt wraps around the body. Test your artwork at S and XL before approving a full run.
How a fulfillment shop handles front and back orders from estimate to delivery
Here is the step-by-step workflow you can expect when placing a front-and-back custom shirt order:
- Quote request: You submit your design concept, shirt quantity, color choices, and placement preferences. The shop confirms pricing based on print method, number of locations, and garment type.
- Art check: The shop reviews your file for resolution, color mode, and bleed. If the file is below 300 DPI or missing a transparent background, you get a revision request before production starts.
- Mockup approval: A digital proof shows your artwork on the front and back of the shirt at the correct placement distances. You approve or request adjustments. This step protects both sides from surprises. For a full walkthrough of the proofing process, the print proof approval guide covers what to check before you sign off.
- File separation and export: For double-sided orders, the shop separates front and back files and confirms each is sized and positioned correctly for the press.
- Production: Shirts are printed in order. For DTF, front and back passes run sequentially. For screen print, each color requires a separate screen and pass.
- Quality inspection: Finished shirts are checked for placement accuracy, color consistency, and print adhesion before packing.
- Shipping: Orders ship with tracking. Bulk orders are typically folded and bagged by size.
For a small bulk run of 10 shirts with front and back DTF prints, expect a per-shirt cost that reflects two print locations plus the garment. Approving your proof quickly is the single biggest factor in hitting your delivery date.
Handling the real challenges of double-sided printing
Double-sided printing introduces a few problems that single-location orders never face. Knowing them in advance keeps your order on track.
Bleed-through is not a common issue with DTF or screen printing on standard cotton, but it can occur with sublimation on thin polyester. The dye migrates through the fabric under heat, which means a light-colored back design can ghost onto the front panel. The fix is to use a bleed barrier sheet during pressing or to choose a heavier fabric weight (at least 5.5 oz per square yard) for sublimation orders.
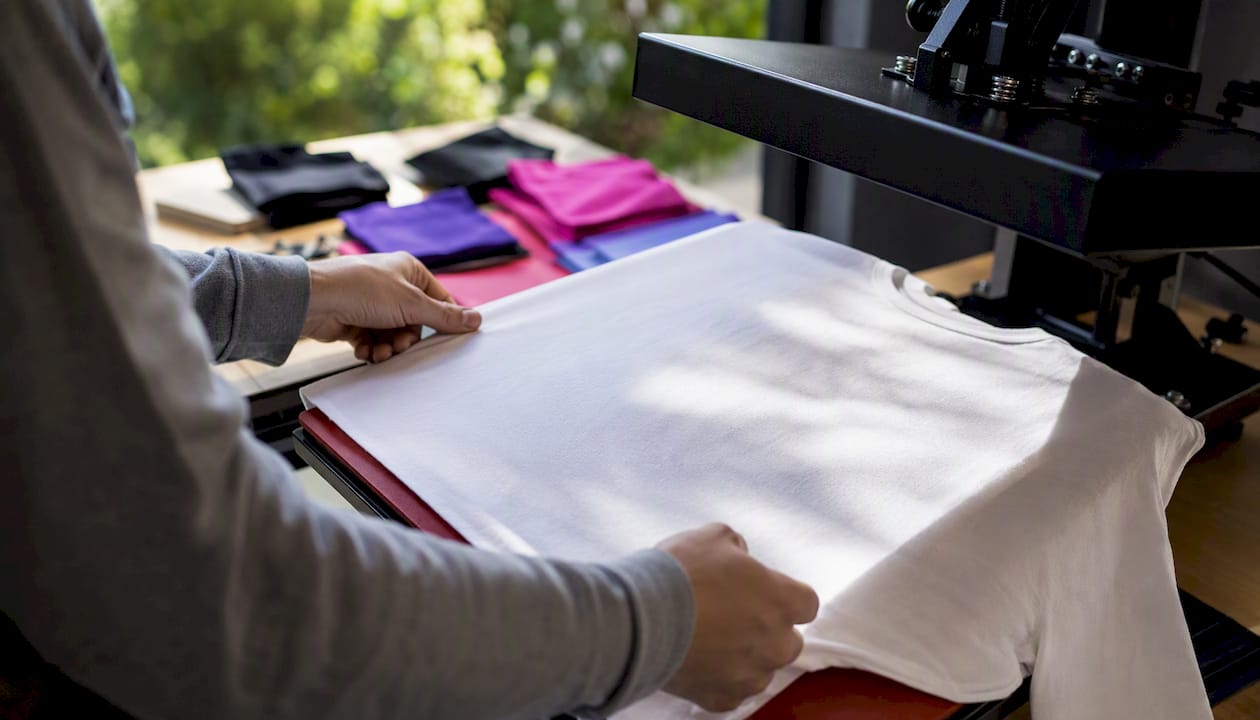
Fabric stretching affects placement accuracy more than people expect. Cotton stretches under the heat press, and a design that looks centered on a flat shirt can shift slightly after pressing. Shops that handle high-volume double-sided orders use alignment jigs and pre-press the garment to remove moisture and pre-shrink the fabric before printing. If you are ordering a large run, ask whether the shop uses a platen or jig system for back prints.
Registration is the alignment of front and back prints relative to each other. On a well-run press, the center of the front print and the center of the back print should align vertically within a quarter inch. If you are designing a shirt where front and back elements need to feel connected (like a wraparound graphic or a design that references both sides), build that relationship into the mockup and confirm it in the proof before approving production.
Heavier cotton fabrics, like the 100% cotton used for most custom shirt orders, handle double-sided DTF printing well because the fabric does not stretch or migrate under standard press temperatures.
What most people get wrong about front and back placement
Most clients come in with one of two problems: the file is too small, or the placement is too ambitious.
The low-resolution file issue is the most common. Someone designs a logo at 500 × 500 pixels for a website, then submits it for a 12-inch full-back print. At 300 DPI, a 12-inch-wide print needs 3,600 pixels of width. A 500-pixel file stretched to that size looks like a screenshot from 2003. The fix is simple: always build print files at the actual print size and 300 DPI from the start, not after the design is finished.
The placement ambition problem is subtler. A client wants a full-back graphic AND a center-front graphic AND a left-chest logo AND a back-collar mark on the same shirt. Each element competes with the others, and the shirt ends up looking like a trade show booth. The most effective shirts pick one primary placement and one secondary placement at most. A full back with a small left-chest logo is a complete shirt. Four print locations is a cluttered one.
One practical rule that holds up across retail, events, and merch: if you want repeat sales, start with a subtle front hit and test a full-back design on a limited run of 10–20 pieces. See which one sells through first. That data tells you more than any placement chart.
Shaysprintshop makes front and back printing simple for small businesses
Ten shirts for $99 with your artwork on the front, the back, or both. That is the starting point at Shaysprintshop, where 100% cotton custom t-shirts are printed with DTF for full-color results on any placement zone, no minimum color fees, and no screen setup charges.
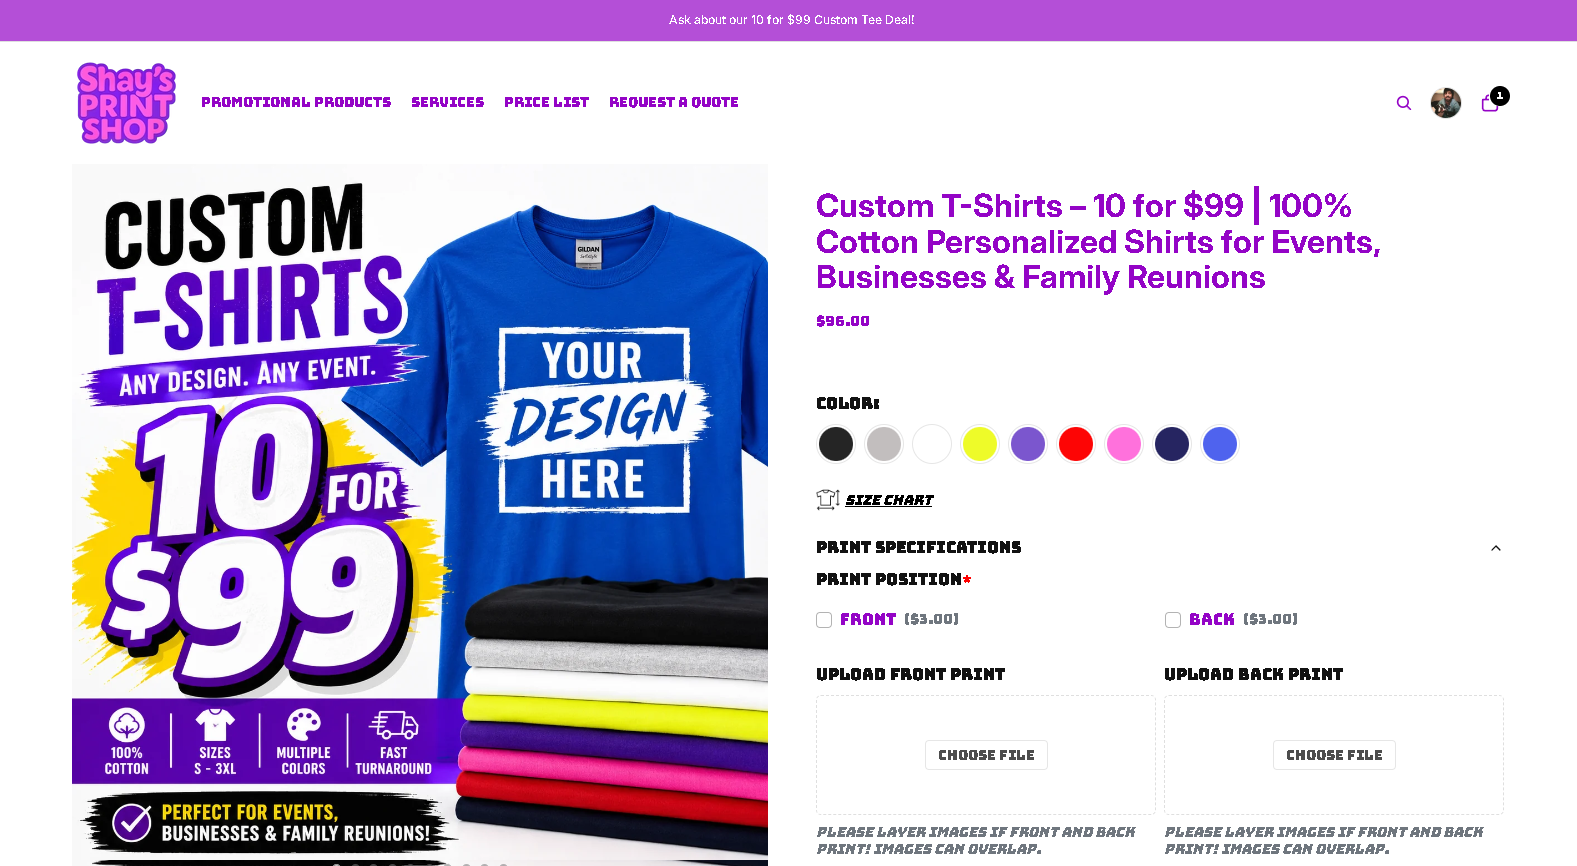
Upload your front and back files, choose your shirt color, and get a digital proof before anything goes to press. Shaysprintshop handles events, family reunions, small businesses, and bulk team orders with fast turnaround and US-based fulfillment. Need something beyond shirts? The custom tumbler option lets you match your apparel order with branded drinkware for a complete event package. Browse the full custom shirts and apparel options and start your order today.
Sources
These are the placement and file-prep references used throughout this guide:
- T-Shirt Design Size Guide — Front, Back & Pocket Print Dimensions | WildandFree Tools
- Design and logo placement on t-shirts | FourthWall
- Placement t shirt design size chart: 15 print rules | Kittl
0 comments