

Die cut means the sticker and its liner are both cut to the exact edge of your design, delivering a standalone shaped piece. Kiss cut means only the top sticker layer is cut, leaving the backing intact as a border or sheet. Pick die cut when you want a premium, ready-to-display sticker. Pick kiss cut when you need sheets, delicate shapes, or easy bulk distribution.
Quick reference:
- Die cut: Individual shaped sticker, polished presentation, great for merch and retail
- Kiss cut: Sticker stays on a backing frame or sheet, easier to peel, better for packs and delicate designs
- Both formats support custom vector shapes, so shape complexity alone should never drive your decision
Pro Tip: If your design has thin, fragile protrusions, kiss cut is the safer default. The backing frame protects those details until the sticker reaches the end user.
Key Takeaways
Die cut delivers a premium standalone sticker; kiss cut keeps the backing intact for safer transport, easier peeling, and printable liner space.
| Point | Details |
|---|---|
| Cut depth is the core difference | Die cut goes through sticker and liner; kiss cut stops at the sticker face only. |
| Shape complexity is not the deciding factor | Both formats follow any custom vector contour; choose by handling and delivery needs. |
| Cost gap at small runs | Die cut can run 8–20% more per unit than kiss cut at small quantities; the gap narrows at scale. |
| File prep applies to both | Supply a vector cutline, 1/16"–1/8" bleed, CMYK color, and 300 DPI minimum for any cut type. |
| Shaysprintshop recommendation | Use die cut for single merch stickers; use kiss cut for sheets, packs, or delicate designs. |
Table of Contents
- What is a die cut sticker or label?
- What is a kiss cut sticker or label?
- How do die cut and kiss cut compare side by side?
- When should you choose die cut?
- When should you choose kiss cut?
- How do printers actually make die cut and kiss cut stickers?
- What drives the cost and turnaround for each format?
- How do you prepare artwork for die cut and kiss cut stickers?
- How Shaysprintshop approaches the die cut vs kiss cut decision
- Exactly what to tell your printer before you order
- Custom stickers from Shaysprintshop, ready when you are
- Sources
What is a die cut sticker or label?
A die cut sticker is cut completely through both the sticker material and its backing paper, tracing the exact contour of your design. What you receive is a standalone, shaped piece with no extra border. Peel it off and it is ready to apply.
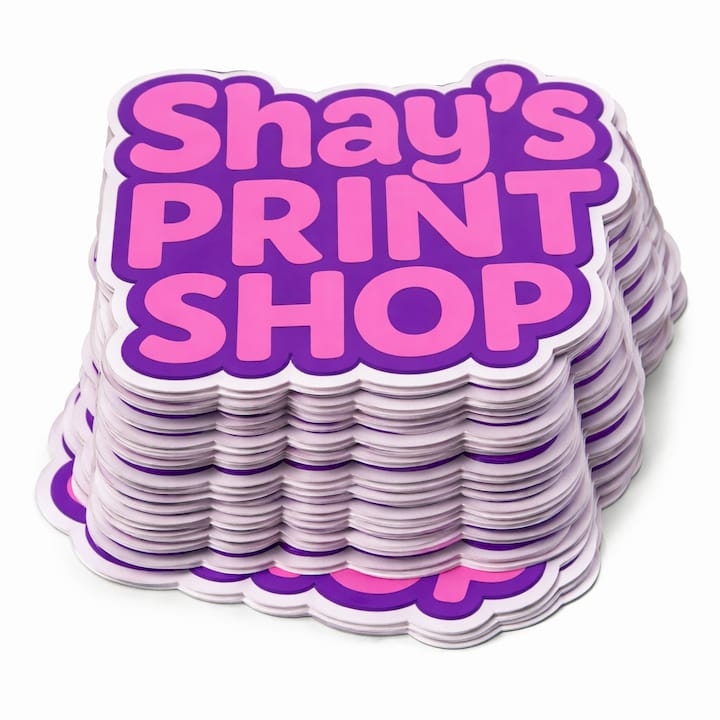
The finished artifact looks polished right out of the bag. Because the liner matches the sticker edge, there is no white rectangle framing your logo. That clean silhouette is why die cut is the go-to for retail sticker sales, branded merch, and anything you want to photograph.
Common material and finish pairings for die cut stickers:
- Vinyl: Waterproof and flexible, handles outdoor use and curved surfaces well
- Paper: Lower cost, better for indoor labels and short-term use
- Gloss laminate: Adds color pop and scratch resistance
- Matte laminate: Softer look, hides fingerprints, feels premium in hand
Pro Tip: Watch out for thin protrusions on die cut pieces. A narrow antenna or a pointed letter tip has no backing support, so it can snag or tear during shipping. Either round those details slightly or switch to kiss cut for protection.
What is a kiss cut sticker or label?
A kiss cut sticker gets its name from the blade “kissing” the top layer. The cutter slices through the vinyl or paper face but stops before reaching the liner, leaving the backing intact as a surrounding frame or full sheet.
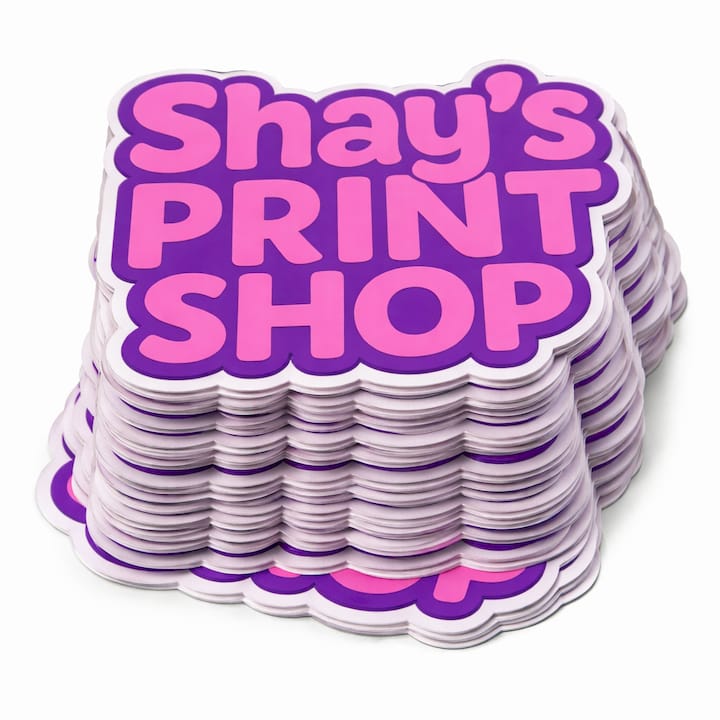
You receive the sticker still attached to its backing card or grouped with others on a sheet. That border gives you something to grip, which makes peeling noticeably easier, especially for users without long fingernails.
Common delivery formats for kiss cut stickers:
- Backing card: One sticker centered on a card, backing printable with a QR code or instructions
- Full sheet: Multiple stickers on one sheet, great for planner stickers or variety packs
- Grouped peelable sets: Several related designs on one backing, sold as a sticker pack
The intact liner also acts as a protective frame. Delicate thin-line designs stay safe during transit because the backing holds the shape until the sticker is peeled.
Pro Tip: Print your brand logo, a QR code, or care instructions on the backing before it ships. That turns the liner into a free marketing card, and buyers see your branding before they even peel the sticker.
How do die cut and kiss cut compare side by side?
Both formats can follow any custom vector contour. The real differences show up in how the finished sticker is handled, stored, and presented. As 3A Print confirms, the deciding factor should always be intended handling and delivery, not a mistaken belief that one format limits your shape options.
| Dimension | Die Cut | Kiss Cut |
|---|---|---|
| Cutting depth | Through sticker and liner | Through sticker face only |
| Delivery format | Individual shaped sticker | On backing card or sheet |
| Peelability | Peel from edge (can be tricky) | Backing border gives easy grip |
| Edge protection in transit | Exposed edges, risk of snag | Liner protects edges fully |
| Delicate/complex shapes | Higher snag risk on thin parts | Liner supports fragile details |
| Printable backing | No | Yes (QR codes, instructions, branding) |
| Presentation/premium look | High: clean silhouette | Moderate: backing visible until peeled |
| Typical cost (small runs) | Marginally higher | Slightly lower |
| Best use cases | Merch, retail, laptop decals | Sticker sheets, packs, event handouts |
Strongest differentiators at a glance:
- Die cut wins on visual presentation: no backing frame, just the shape
- Kiss cut wins on protection and versatility: safer for delicate designs, printable liner, easier to hand out in bulk
When should you choose die cut?
Die cut is the right call when presentation is the priority and the sticker will be handled individually. Think logo stickers for a product launch, branded decals for a retail display, or custom pieces tucked into a merch pack. The clean silhouette photographs well and looks intentional.
Specific scenarios where die cut delivers:
- Logo merch giveaways: A shaped sticker with no white border looks premium in a swag bag and photographs cleanly for social media.
- Retail sticker sales: Customers browsing a display expect a finished product. Die cut delivers that without extra packaging.
- Laptop and water bottle decals: The contour cut fits the design perfectly and adheres without a visible liner edge.
- Single-item merch packs: When one sticker ships with a product, die cut signals quality and care.
For outdoor use, pair die cut with a cast vinyl stock and a UV-resistant gloss laminate. That combination handles sun, rain, and temperature swings without peeling or fading. Industry data shows die cut orders represent roughly 45% of custom sticker production, largely because buyers associate the format with a premium feel.
Pro Tip: Order a slightly thicker vinyl (3 mil or above) for die cut pieces with thin protrusions. The added rigidity reduces the chance of a narrow detail tearing during fulfillment.
When should you choose kiss cut?
Kiss cut is the practical choice whenever stickers need to travel safely, peel easily, or ship in groups. The backing frame does real work: it protects edges, gives users a grip point, and doubles as printable real estate.
Situations where kiss cut is the better pick:
- Planner and journal sticker sheets: Multiple designs on one sheet stay organized and peel cleanly without damaging neighbors.
- Multi-design sticker packs: Grouping several stickers on one backing reduces packaging cost and keeps everything together.
- Packaging labels with instructions: Print a QR code, ingredient list, or care note on the liner. The Print Reviewer highlights this as a smart use of the backing as a built-in marketing card.
- Delicate thin-line designs: A fine-line illustration or script font with hairline strokes survives shipping far better when the liner holds the shape.
- Event handouts: Kiss cut sheets stack neatly and hand out quickly. Exposed die cut edges can snag in a grab bowl or stick together in high-traffic distribution.
Pro Tip: For event distribution, order kiss cut sheets over individual die cut pieces. They stack flat, hand out faster, and arrive at the table without bent edges.
How do printers actually make die cut and kiss cut stickers?
The physical difference between the two cuts comes down to blade depth and tooling setup.
For a die cut, the blade or die presses all the way through the sticker material and the liner beneath it. The result is a fully separated piece. For a kiss cut, the blade is calibrated to slice only the face layer, stopping just short of the liner. That calibration is what gives the format its name: the blade “kisses” the surface without cutting through.
Key production insight: Modern short-run shops use digital plotters rather than traditional steel dies. A digital plotter follows your vector file directly, which means shape complexity rarely changes the price as much as total square-inch coverage and material waste do. Steel dies are only cost-effective for very large, repetitive runs. For most custom orders, a clean vector file is all the tooling you need.
Traditional steel dies stamp through material in one press, which is fast for massive quantities but requires a custom die for each shape. Digital plotters cut on demand from a vector path, making them the standard for short runs and custom shapes.
Pro Tip: Submit your cutline as a separate vector layer in your file. A clean, closed path with no stray anchor points speeds up plotter setup and reduces the chance of a miscut.
What drives the cost and turnaround for each format?
Price and lead time for both formats respond to the same core variables. Knowing which levers matter most helps you get an accurate quote faster.
Primary cost drivers:
- Quantity: Per-unit price drops significantly as quantity rises for both formats
- Material type: Cast vinyl costs more than calendered vinyl; paper is the most affordable
- Finish and laminate: Gloss, matte, or UV coating each add to the base price
- Sheet layout efficiency: Kiss cut sheets that pack many stickers per sheet use material more efficiently
- Tooling/setup: Digital plotters keep setup costs low for short runs; steel dies add cost only for very large orders
- Labor for finishing: Hand-sorting individual die cut pieces adds time compared to sheeted kiss cut
For small quantities, die cut per-unit prices can run 8–20% higher than comparable kiss cut stickers. That gap narrows at higher quantities because setup cost is spread across more pieces.
Price ranges sourced from Cubit Packaging’s die cut cost guide. Actual quotes vary by shop, material, and finish.
Turnaround for both formats at a digital-plotter shop typically runs 3–7 business days for standard orders. Rush options (1–2 days) are available at most quick-turn shops but add a premium. Kiss cut sheets with many stickers per sheet can sometimes process faster because fewer finishing steps are needed after cutting.
How do you prepare artwork for die cut and kiss cut stickers?
File prep is where most orders get delayed. Follow this checklist and your files will go straight to production.
- Supply a vector cutline. Create a separate layer or spot color (often named “CutContour” or “Die Line”) that traces your sticker’s exact shape. This is required for both formats.
- Add a 1/16"–1/8" bleed. Extend your background color or artwork beyond the cutline. The exact bleed requirement varies by shop, so confirm before submitting.
- Respect the safe area. Keep text and critical design elements at least 1/16" inside the cutline so nothing gets clipped.
- Provide 300 DPI print files or native vector. Raster artwork must be at least 300 DPI at final print size. Vector files (AI, EPS, PDF) scale without quality loss.
- Set color mode to CMYK. RGB files convert at the printer’s discretion and colors can shift. Convert yourself to control the result.
- Flatten layers as instructed. Most shops want a flattened print layer plus a separate, unfilled cutline layer. Never merge the cutline into the print layer.
- Name layers clearly. Label them “Print” and “Cut” so the operator does not have to guess.
For kiss cut sheet layouts, add a few extra steps:
- Set up an artboard that matches the full sheet size, not just one sticker
- Place registration marks at the sheet corners if your shop requires them
- Group stickers with consistent spacing (typically 0.125"–0.25" between shapes) to minimize material waste
You can also check Shaysprintshop’s sticker size guide for placement and sizing tips before you finalize your artwork.
Acceptable file types for most shops: PDF, AI, EPS, SVG (vector preferred); PNG or TIFF at 300 DPI minimum for raster elements.
How Shaysprintshop approaches the die cut vs kiss cut decision
At Shaysprintshop, the default recommendation for single-item merch, event giveaways, and retail sticker orders is die cut. For sticker sheets, variety packs, or any design with thin details, kiss cut is the starting point.
Shaysprintshop practical rules of thumb:
- Single sticker for a product or event: start with die cut on gloss vinyl
- Sticker sheet or multi-design pack: start with kiss cut on matte or gloss vinyl
- Delicate design with thin lines: always kiss cut, liner protects the details
- Outdoor use: add a UV-resistant laminate regardless of cut type
- Small run (10–100 units): 2-inch custom sticker packs are a good entry point for testing a design before scaling
Sample order brief (what the shop needs from you):
- Cut type: die cut or kiss cut
- Quantity: exact count
- Size: width × height in inches
- Stock: vinyl (gloss or matte) or paper
- Laminate: gloss, matte, or UV
- File: PDF or AI with separate cutline layer, CMYK, 300 DPI minimum
- Proof: confirm you want a PDF proof before production begins
For event orders where stickers ship alongside custom t-shirts, kiss cut sheets stack flat in the same box and arrive without bent edges.
Pro Tip: For outdoor stickers, choose a cast vinyl stock with a gloss or matte UV laminate. Calendered vinyl and unlaminated paper both degrade faster in direct sun and moisture.
Exactly what to tell your printer before you order
Use this checklist as your order brief. Copy it, fill in your details, and send it with your files.
- Art format: PDF or AI, CMYK, 300 DPI minimum, cutline on a separate layer
- Cut type: Die cut (through sticker and liner) or kiss cut (sticker face only, backing intact)
- Quantity: Exact number of stickers or sheets
- Stock: Vinyl (cast or calendered), paper, or specialty material
- Finish: Gloss, matte, or UV coating
- Laminate: Gloss, matte, or none
- Bleed and safe area: Confirm the shop’s required bleed (typically 1/16"–1/8")
- Dieline file: Attached as a separate vector layer or spot color
- Proof confirmation: Request a PDF proof or digital sample before full production runs
- Shipping and packaging: Specify flat-pack, rolled, or sheeted delivery
Short email template you can copy:
Hi, I’d like to order [quantity] [die cut / kiss cut] stickers on [gloss/matte vinyl]. Size: [W × H inches]. Finish: [gloss/matte/UV]. I’ve attached a PDF with a separate CutContour layer in CMYK at 300 DPI. Please send a PDF proof before production. Thank you.
Pro Tip: Always request a PDF proof, even for repeat orders. A quick visual check catches color shifts and cutline errors before they become a full-run mistake.
A note from the shop floor
The die cut vs kiss cut decision is simpler than most buyers think. If your sticker needs to look finished the moment someone picks it up, die cut is the answer. If it needs to travel safely, peel easily, or carry extra information on the back, kiss cut does the job better. The shape you want is achievable with either format. What changes is how the sticker gets from the printer to the end user’s hand.
Custom stickers from Shaysprintshop, ready when you are
Shaysprintshop prints custom die cut and kiss cut stickers in sizes from 2 inches to 5 inches, in gloss or matte finish, with fast turnaround on orders from 10 to 1,000 units. You upload your design, choose your cut type and finish, and the shop handles the rest. Bulk pricing keeps per-unit costs low, and every order gets a proof before production starts.
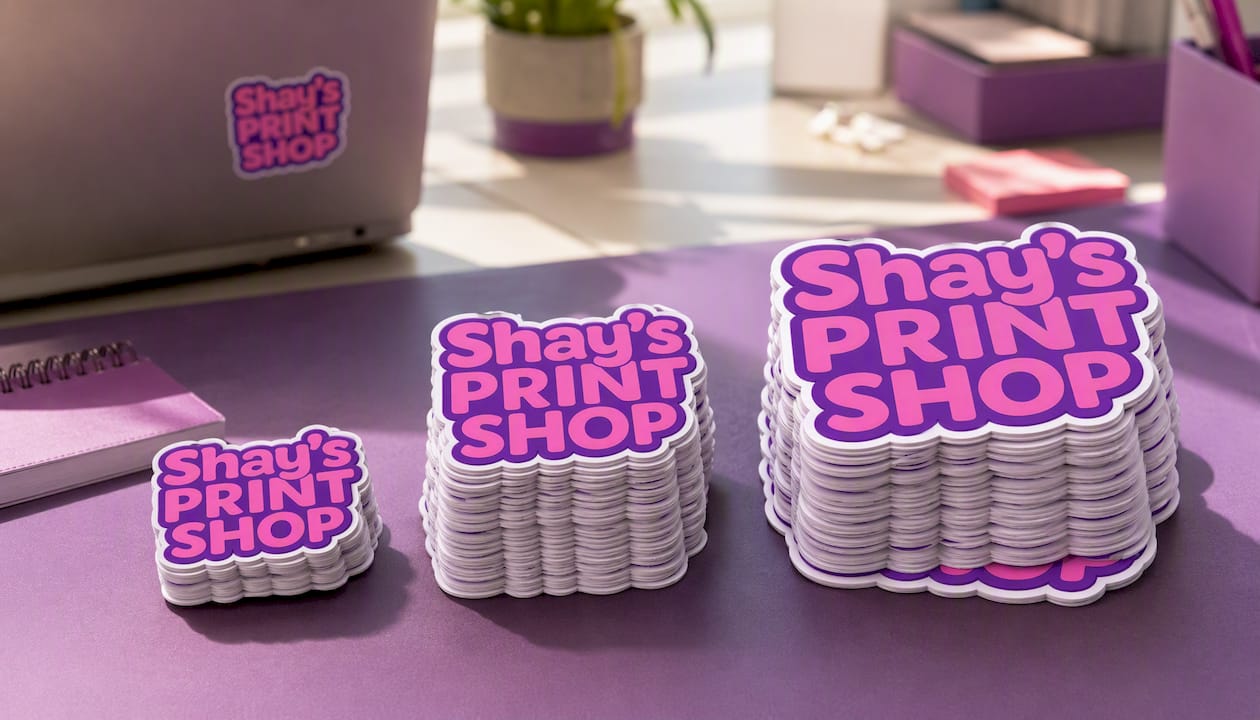
Planning an event? Pair your sticker order with 10 custom t-shirts for $99 and ship everything together. Visit the custom sticker product page to upload your art and get started.
Sources
- Kiss Cut vs. Die Cut Stickers: How To Choose the Right Option (2025) - Shopify
- Die Cut vs Kiss Cut Stickers: What’s the Difference? - The Print Reviewer
- Die-Cut Stickers: How They Work & Costs
- Die-Cut vs Kiss-Cut: What’s the Difference? - 3A Print
Recommended
- Custom Stickers | Die Cut, Circle & Square | Glossy or Matte | 2" | 10 – Shay’s Print Shop
- Custom Vinyl Sticker Size Guide: Pick the Right Fit – Shay’s Print Shop
- Custom Stickers | Die Cut, Circle & Square | Glossy or Matte | 3" | 10 – Shay’s Print Shop
- Custom Stickers | Die Cut, Circle & Square | Glossy or Matte | 4" | 10 – Shay’s Print Shop
0 comments